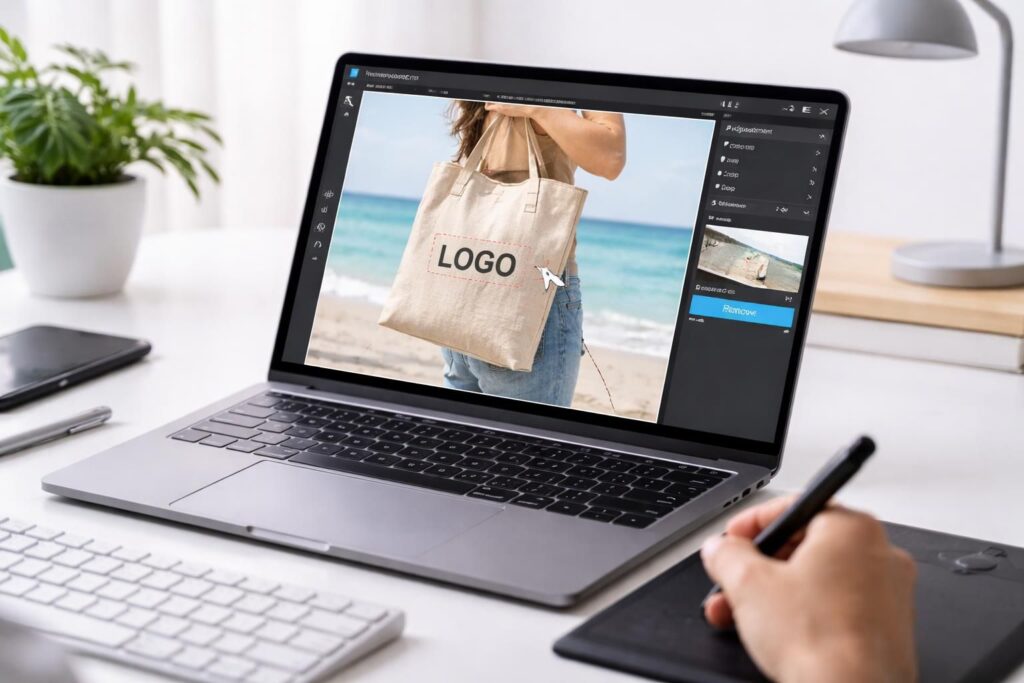
Editing an image to remove an unwanted element is no longer reserved for design professionals. With the advent of artificial intelligence technologies, intuitive and powerful tools like remover.zmo now allow anyone to erase objects or people from a photo in just a few clicks. Whether it’s to touch up a vacation photo or enhance an image for social media, automated solutions make the process both simple and accessible. So, how does this tool work and what are its advantages? This article offers a comprehensive overview of remover.zmo, its features, and practical tips to optimize the use of this technology. Explore the necessary steps to obtain a logo-free photo and discover the limitations of this software, while enabling you to make quick and effective edits.
Features of remover.zmo for Easy Logo Removal
Remover.zmo stands out as a powerful online tool for removing unwanted elements from photos. Thanks to the artificial intelligence technology known as inpainting, this tool analyzes and modifies the backgrounds of images to provide a coherent visual output. When you select a logo, a person, or any other object to remove, the algorithm evaluates the surrounding pixels and reconstructs the image while considering textures and colors. This helps avoid artifacts that are often visible when using less sophisticated tools.
This process takes place in four simple steps:
- Import: The user starts by uploading the image to the remover.zmo interface via a simple drag-and-drop or by selecting the file from their device.
- Selection: A selection brush is used to trace around the element to be removed, allowing for size adjustments to precisely target the object without affecting adjacent areas.
- Erasure: By clicking the “Remove” button, the AI analyzes the selected area and proceeds to remove it in a matter of seconds.
- Download: Once the rendering is validated, the user can download the modified image.
It is important to emphasize that remover.zmo operates without requiring installation, making it accessible on various devices, whether PCs, tablets, or smartphones. Supported formats include standard files such as JPEG and PNG.
The Limitations and Advantages of remover.zmo
Like any tool, remover.zmo has advantages and limitations that are essential to know before using it. Among the advantages, its ease of use is evident. Even users who are not very familiar with image editing can quickly understand how it works. Additionally, the results obtained are generally of high quality, thanks to the AI algorithm that understands the context of the image being processed.
However, some limitations remain. For example, processing highly detailed images or those with multiple complex textures may sometimes require several passes to achieve optimal results. Furthermore, the free version imposes limits in terms of resolution and the number of images that can be processed per day.
Thus, for occasional use and quick edits, remover.zmo is ideal. On the other hand, for more professional or recurring work, it may be necessary to consider subscribing to the premium version that removes these restrictions.
How to Use remover.zmo: Step-by-Step Guide
Using remover.zmo is an intuitive process that allows anyone to quickly edit their images. Here are the detailed steps to make the most of it:
Step 1: Access the Site
Go to the official site at remover.zmo.ai. You will be greeted by a clean interface where you can start your editing.
Step 2: Import the Image
Import your image by clicking the “Upload Image” button or by dragging it directly into the designated area. Once the image is loaded, it will immediately appear on the screen.
Step 3: Select the Element to Erase
Use the selection brush to sweep around the object or logo to be removed. Adjust the brush size according to the precision required. For small objects or complex logos, a fine brush is recommended. A precise selection is essential to avoid imperfections in the final rendering.
Step 4: Apply the Erasure
Once the selection is made, click on “Remove.” The AI of remover.zmo then begins analyzing the image and automatically generates the modified rendering. This process usually takes a few seconds.
Step 5: Download the Final Image
When the processing is complete, you will have the option to download your modified image. Note that if you are using the free version, the quality may be reduced and a watermark may appear.
Common Use Cases for remover.zmo
Remover.zmo is particularly useful in various situations, including:
- Product Photo Retouching: In e-commerce postings, it is common to want to remove shadows or reflections to highlight the product. This tool facilitates such modifications.
- Enhancing Landscape Photos: It helps remove unwanted elements such as billboards or vehicles in a natural landscape.
- Cleaning Family Images: Erasing intruders or even passersby can allow for a more intimate and pleasant portrait.
- Removing Logos and Watermarks: Sometimes, logos on images can detract from their aesthetics. Remover.zmo allows you to erase these elements for a cleaner image.
Evaluating the Results Obtained
Users often find that the final rendering is seamless and natural. However, for complex elements, special attention is required during selection to ensure that the connection points between the removed object and the background are well treated, thus ensuring an optimized final result.
Free Version and Paid Options of remover.zmo
As mentioned earlier, remover.zmo operates on a freemium model. This means that a free version is available, but with certain limitations. Here’s an overview of the features offered by both plans:
| Features | Free Version | Pro Version |
|---|---|---|
| Element Removal | Yes | Yes |
| Image Download | 720p with watermark | 4K without watermark |
| Number of Images per Day | 3 to 5 | Unlimited |
| Priority Access to Servers | No | Yes |
For users wishing to achieve high-quality results and access an unlimited number of edits, subscribing to the Pro version is recommended. Generally, the cost of this version varies with monthly subscription options starting at $4.99 per month, and an annual plan that can provide significant savings.
Practical Tips for Optimal Retouching with remover.zmo
Using remover.zmo effectively requires some best practices that every user should keep in mind:
- Precision in Selection: It is crucial to be as precise as possible when selecting the object to remove. Avoid including too much area around it, especially if the background is complex.
- Use Multiple Passes: In the case of highly detailed images, it is better to perform removals in multiple passes to allow the algorithm to better capture the details.
- Save Originals: Before any editing, it is wise to keep the original versions of the images. This allows you to revert if the result does not meet expectations.
- Compare Renderings: Before downloading the final image, make a comparative preview with the original image to ensure that the result is at the desired level.
By applying these tips, users of remover.zmo can achieve quality results, whether for personal or professional use. Thus, this tool becomes a valuable ally in various fields, ranging from amateur photography to content creation for social media.
Conclusion on Using remover.zmo
The emergence of tools like remover.zmo has transformed the way we approach photo editing. With its user-friendly interface and powerful algorithmic analysis capabilities, it makes the removal of unwanted elements accessible to everyone, from professionals to amateurs. Its flexibility of use makes it an essential tool for anyone looking to quickly and effectively enhance their images.