
In the world of photography, decor trends evolve at lightning speed. And at the beginning of this year, you might be looking for an original idea to personalize your space. How about creating your own photo calendar? A useful and aesthetic object that reflects your tastes and personality. But how do you succeed in designing this custom calendar? How do you choose the right format, the right paper, the right photos? Follow the guide, and we will reveal all the secrets to creating a calendar that truly represents you.
The layout: the heart of your calendar
The layout is the backbone of your photo calendar. It sets the tone and structures your creation. A successful design is primarily a well-mastered layout. So, how do you go about it?
Start by choosing the format of your calendar. You can opt for a classic wall calendar or a more compact desk format. The choice of format will depend on your usage, but also on the space you have available to display your calendar.
Next, think about the pages of your calendar. How many photos do you want to include? One photo per month, or a mosaic of several images? Again, it all depends on you, your desires, and your favorites.
Finally, don’t forget the text. The dates, of course, but also perhaps a caption under each photo, or even a quote that inspires you. The text is a key element in personalizing your photo calendar.
The choice of photos: your calendar, a reflection of your year
The choice of photos is undoubtedly the most important step in creating your photo calendar. They will bring your creation to life, telling the story of your year, your highlights, your favorites.
Don’t hesitate to vary the types of photos: portraits, landscapes, travel photos, family photos… The important thing is that they reflect you and tell your story.
And why not include some photos of significant events from the past year? A wedding, a birth, a party with friends… All these memories will take a special place in your calendar.
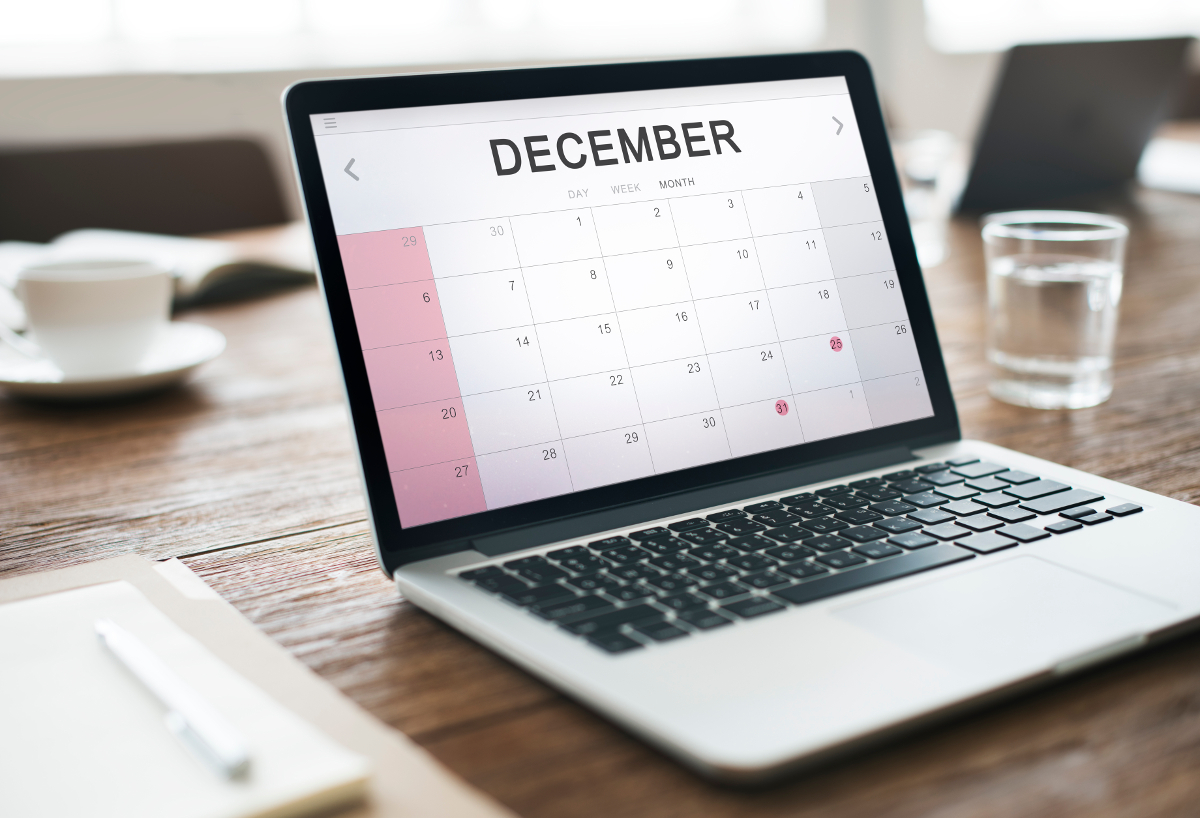
The finishing touches: perfecting your calendar for a professional look
The finishing touches are the final detail that will give your photo calendar its professional appearance. The choice of paper, for example, is very important. Matte paper will give a chic and understated effect to your calendar, while glossy paper will enhance your photos.
Also consider the binding. A spiral for a practical and modern effect, or a glued binding for a more traditional and elegant look?
Finally, don’t forget to protect your data. Make sure that the calendar creation service you use respects the privacy policy and does not use your photos for advertising or unwanted content.
The secrets of customer service for a successful calendar
If you encounter difficulties while creating your photo calendar, don’t hesitate to reach out to customer service. A good customer service team can guide you in your choices, advise you on design, format, photo selection…
And if you lack inspiration, why not take a look at the templates offered by the calendar creation service? You will surely find ideas, color combinations, layouts that you like and that you can adapt to your taste.
Creating your own photo calendar is giving yourself a unique object that truly represents you. It’s a project that is both creative and personal, requiring time and thought, but it can also bring you a lot of satisfaction.
So, are you ready to embark on this adventure? To capture your year in photos, to choose your favorites, to personalize your calendar down to the smallest detail? It’s your turn to play, and don’t forget: this calendar is yours. It reflects your year, your highlights, your emotions. So treat yourself and create a calendar that truly represents you. Happy creating!
Optimize production: pro techniques for a faithful rendering
Before sending your file to print, take care of the graphic chain to ensure a faithful rendering. Think resolution and color management: work in 300 dpi, check the colorimetry, ICC profile, and perform a screen calibration to avoid surprises between what you see and the final print. Integrate bleed and a trim line to anticipate cutting, and create an optimized PDF/X layout for the printer to preserve quality and ink profiles. Non-destructive editing (masks and layers) allows you to adjust exposure, saturation, and white balance without altering the originals, making it easier to re-edit next year.
On the layout side, prioritize a coherent grid to ensure a clear visual hierarchy and optimal readability of dates and captions: define margins, line height, and an appropriate typography (sufficient x-height, text/background contrast). Before mass production, create a proof or a digital proof and print a prototype to check color rendering, readability of small mentions, and ink adherence on the chosen medium. Finally, integrate responsible practices into your workflow (reducing paper waste, low-impact inks) and document your template to save time on future editions. To deepen your editorial approach and visualize examples of inspiring layouts, check out the webmag Eyes Wide Shoot: Eyes Wide Shoot webmag site.