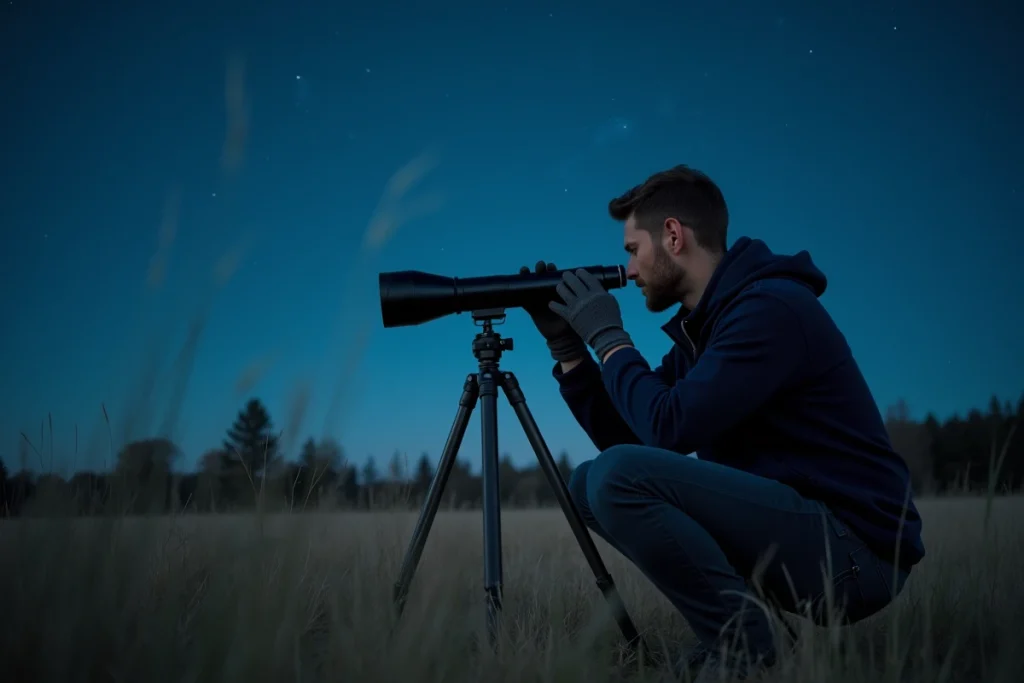
Between a pair of binoculars costing less than a hundred euros and a large diameter Dobsonian telescope, the budget can vary from simple to tenfold. However, the choice of astronomy equipment depends less on price than on three measurable parameters: the aperture of the instrument, the quality of the sky at the observation site, and the time it takes for the eye to adapt to darkness. This article compares these variables to help choose a coherent first setup.
Aperture of the telescope, mount, and eyepiece: comparison of configurations for beginners
The aperture, meaning the diameter of the lens or primary mirror, determines the amount of light captured. The larger it is, the more the instrument reveals faint objects like nebulae or distant galaxies.
| Type of instrument | Typical aperture | Accessible objects | Common mount | Size |
|---|---|---|---|---|
| Astronomical binoculars | 50 mm | Moon, bright planets, open clusters | Photo tripod | Low |
| Achromatic refractor | 70-90 mm | Moon (details of craters), Saturn, Jupiter, double stars | Altazimuth or lightweight equatorial | Medium |
| Newtonian/Dobsonian telescope | 150-200 mm | Nebulae, galaxies, globular clusters | Dobsonian (simplified altazimuth) | High |
A pair of 10×50 binoculars is often an underestimated entry point. Their wide field makes it easy to spot constellations and makes the Moon spectacular without any complex adjustments.
Specialized retailers like Astronomic offer these different configurations with comparison sheets that allow you to check the relationship between aperture, focal length, and type of mount before purchase.
At the same diameter, the mount radically changes the experience. An equatorial mount compensates for Earth’s rotation and makes it easier to track a planet over time. In contrast, a Dobsonian mount moves manually, but its lower price allows for investing in a larger diameter, which is more important for deep sky observations.

Light pollution and Bortle scale: measuring sky quality before heading out
A large diameter telescope loses much of its potential under an urban sky saturated with light. The quality of the observation site is as important as the equipment.
The Bortle scale classifies skies from 1 (a site free of light pollution) to 9 (downtown). Under a class 4-5 sky, the Milky Way is already visible to the naked eye. Under a class 7 or higher, only the Moon, planets, and a few bright stars remain visible without a filter.
Interactive light pollution maps, combined with SQM (Sky Quality Meter) measurements, allow for quantifying the darkness of a specific location before moving. A difference of one or two classes on the Bortle scale can be enough to make a deep sky object visible that would remain invisible from a suburban garden.
- Check the light pollution map to find dark areas accessible within an hour’s drive
- Prefer moonless nights (around the new moon) for observing nebulae and galaxies
- Consult atmospheric “seeing” forecasts, which assess air turbulence and thus the sharpness of images through the telescope
Eye adaptation to darkness: the role of rhodopsin
The human retina takes time to reach its maximum sensitivity in the dark. This mechanism relies on rhodopsin, a photosensitive pigment that regenerates slowly in the absence of bright light.
A brief glance at a smartphone screen is enough to partially reset this process. The blue light emitted by screens is particularly harsh on this protein. Allow 20 to 30 minutes without any screens before starting an observation session significantly improves the perception of faint objects.
Amateur astronomers use a red LED headlamp, whose wavelength only marginally affects rhodopsin. Reading a star chart or adjusting an eyepiece under red light preserves the night adaptation accumulated.
First eyepiece and useful magnification: what the diameter actually allows
The magnification of a telescope is calculated by dividing the focal length of the instrument by that of the eyepiece. A telescope with a 1,200 mm focal length equipped with a 25 mm eyepiece produces a magnification of 48x.
Magnifying more does not mean seeing better. The maximum useful magnification is limited by the aperture: beyond a certain threshold, the image becomes blurry and dark. In practice, moderate magnification often provides a brighter and more contrasted image than high magnification on the same instrument.
- A wide-field eyepiece (between 20 and 30 mm focal length) is suitable for spotting objects and sweeping through star clusters
- An intermediate eyepiece (between 10 and 15 mm) allows for observing details of the Moon, the bands of Jupiter, or the rings of Saturn
- A short eyepiece (under 8 mm) pushes the magnification but requires stable skies and precise tracking of the mount
Starting with two complementary eyepieces covers the majority of observations accessible to a beginner. Adding a Barlow lens, which doubles the effective focal length, offers additional combinations without multiplying purchases.
Ground spotting and session planning
Aiming a telescope at an object invisible to the naked eye requires a method. “Star hopping” involves starting from a recognizable bright star and then jumping from star to star towards the target by following a path learned on a map.
Mobile planetarium apps simplify this step but should be consulted before the session to avoid compromising night adaptation. Preparing the celestial route in advance reduces the time spent on screens once on site.
The Moon remains the most rewarding target for a first outing: visible to the naked eye, easy to point at, and spectacular even at the lowest magnification. Planets like Jupiter and Saturn follow, as they are bright and easily identifiable. Deep sky (nebulae, galaxies) requires a dark site, sufficient diameter, and a well-adapted eye, making it a goal to reserve for the best-prepared outings.